- By Łukasz Supergan
- April 8, 2021
Israel National Trail (INT) is (moderately) popular among Israelis. Among other nationalities, the route remains mostly unknown. During the 41 days of the march I met 3-4 hikers from abroad. This route is beautiful trail in rough, unforgiving landscapes of Negev desert, green forests of Galilee and outskirts of Jerusalem and Tel Aviv. It’s difficult and absolutely charming – but INT is not only about places. For me, meetings along the way were great opportunity to understand this country. It also allows Israelis themselves to establish a dialogue with people from outside.
How did I thru-hiked through Israel? In this article you will find the most important information about the Israel National Trail.
The gate to Israel is Tel Aviv. The city is also the main transport hub of the country, from where you can easily reach the starting point of the route – or start your journey straight away (see below).
Entry Formalities
Israel is a special place and you will feel it immediately on arrival. Increased security measures, more gates, airport explosives detectors, etc. And most of all, officers asking difficult questions. To get through this possibly smoothly, you should bring your first night hotel reservation and the return ticket you bought in advance. If they have any questions about the route, show it on the map and explain. The key is patience and peace – the same questions might be repeated several times, and an officer can pretend to be a dumb person, to ask a catchy question in a moment. Be calm and courteous.
It’s not that bad, of course. Diffculties start when you have in your passport a visa from country that do not recognize the state of Israel. These are some countries of Arabian Pennisula and North Afrcica, Syria, Lebanon, Pakistan, Malaysia, Indonesia and, above all, Iran. My Iranian visa and its two extensions – a total of three pages in the passport – have caused confusion. Fortunately, a visa to Iran is not an obstacle to obtain entry permit. Nor do I know anyone who has been denied entry to Israel on that ground. However, it is up to the border authorities to decide, and they will be suspicious. The key is patience. At the end of the day I got a 90-day residence permit. There was no stamp in my passport, no exit stamp, so there is no trace of your stay in Israel.
Similar interrogation, lasting 10 minutes, was waiting for me at the exit. The same questions, the same game of pretended naivety. I convinced a policewoman by saying that I had just crossed 1020 km across the whole of Israel. Then the questions quickly came to an end and smile appeared.
What route should I take?
You can choose from a variety of directions along the route:
- Ejlat – Dan (South – North),
- Dan-Eylat (north-south),
- and combination of two sections: Tel Aviv-Dan and Tel Aviv-Ejlat.
Each has its own advantages and season.
If you want to hike across Israel in the best best season, start your trip to the Red Sea. When? Optimally in mid-February. Winter/spring is the best time for this route. Walking through the Negev desert in that time you will avoid very high temperatures, and in early spring you will reach the central and northern part of the country. At the end of the route in Galilee, you will wander between blooming meadows in sunny and warm weather. If you were to go the other way, the north of the country would welcome you with February cold and rain, and April in the desert would be hard to bear. The disadvantage of this solution is the start in the most difficult part of the route – the first 3 days after Eilat had the biggest ascents and lack of water, so very heavy backpack was crushing me.
The reverse direction is suggested in autumn, from September to the end of November. Temperatures are falling, but you are heading for warmer regions. When the autumn rains come to the north of the country, the trail will take you already to the desert.
The middle of winter is not recommended, as rains are most common then – even in the desert. In summer, forget about Negev, where temperatures reach 45°C and a hiked can be deadly dangerous.
Quite popular variant is dividing the route into 2 sections. The first one starts in winter, from Tel Aviv to the south. After a month, it reaches Ejlat. From here, you can takes the bus to the north of the country, to Kirjat Shemon and further, to the Dan kibbutz, where you start again towards south, ending in Tel Aviv. Such variant might be easier – it slowly accommodate your body to the rhythm of hike, as the first days of the march are pretty mild.

Israel National Trail: hiking time
The thru hike of “Shvil Israel”, as the trail is called in Hebrew, takes 40-60 days. If you travel fast and have an experience, combined with small luggage, 6 weeks is enough time. When your pace is slower and your daily mileage is smaller, add 2 weeks to that. On average, it’s 25 km per day, but the value is very variable. The middle of Israel does not represent any major difficulties. Carmel Mountains and Galilee in the north require some effort. It’s Negev desert in the south, that will put you to the real test. A necessary supply of food and water might be additional 8-12 kg. With this load, hiking is slow and the desert camping sites limit the choice of where to sleep. The daily distance can be up to 15 km, but it can still be exhausting. Let yourself walk 3 weeks across the 400 km section of desert, from Ejlat to Arad. Even if you can make same distance in your country in much shorter time, you will see that Negev is forcing everyone to slow down.
My thru-hike of Israel National Trail lasted 41 days, including 18 days at Negev. I’ve also spend 23 days on “zero-days”, in Jerusalem, Tel Aviv and Palestinian Territories.
Maps and guides
The area through which the trail leads, might be complicated. Especially in the desert, a detailed map is helpful. The whole country is covered with a 1:50,000 scale grid, but the price is, even for Israeli conditions, crazy: 90 shekel/map. This means almost €25 per sheet. It is more cost-effective to buy the whole set, but it is still rip-off 380-400 Euros.
There are 3 solutions.
1. Go only with the general map of the country.
Possible, but can be difficult. I took German “Reise Know How” waterproof map of 1:250 000 of Israel, which contains enough details to plan my trip in general. However, it lacks many details in the south of the country. The contours are very schematic. In addition, parts of the INT might be marked incorrectly.
2. Take a guidebook.
The trail is described by the book “Israel National Trail” by Jacob Saar, Yagil Henkin and Dany Gaspar. Corrected regularly in new editions, it is a “must-read” before your trip. It’s written in a specific style, which not every thru-hiker admires and the accuracy of the descriptions is not always perfect. Even Israelis curse the “Red Book” (named after the cover’s color), but it’s a “Bible of the route” for everyone. Apart from the descriptions, it contains all the necessary topographic map sections. Using it, you will be self-sufficient. The price of the guide is crazy – about 230 shekel for a thin 100 pages of text and few dozens of poor maps, not really best quality. However, having it saves you the effort of carrying 20 heavy and expensive maps. If you are thinking about thru-hiking of the entire INT, take it with you. It really helps.
On my thru-hike of Israel National Trail I took a general map of the country. Before departure from Poland, I searched for and marked on it the route itself and the locations of desert bivouacs and resupply points. This way map has become much more helpful. In case of any problems, I also took an INT red guide.
You can buy maps of the entire INT (individually and full set) in the centre of Tel Aviv, in the SPNI office (ul. Ha Negev 2, right next to Abraham Hostel). The guide can be found at Steimatzky’s bookstore, at Dizengoff Shopping Mall.
3. Navigation
Many Israelis use smartphones on the route, equipped with apps for navigation. The entire route is available as GPS files as well as on the Open Street Map page.
These tracks were helpful while planning my hike, as they allowed me to trace any sections in advance. You can upload GPX files to Google Earth program and see your route in 3D. Although I am not a big fan of relying solely on GPS, technology can be helpful in Israel. A very good help is free Trailze application. It includes a network of Israeli hiking and biking trails and, in combination with the GPS module on your phone, allows you to find your location on the path. It works especially well in places, where many paths are crossing each other and it’s easy to get off the proper track. I saw this application in use by a few people on the trail and was surprised by its accuracy.

Israel National Trail – permits and fees
The trail leads through numerous protected areas, especially in the desert. Entry to almost all of them is free of charge. Even where other visitors pay fees, those who go along “Shvil Israel” will pass for free along separate paths. This is the case, for example, in Timna Park, a large geological reserve north of Ejlat. Traditional excursions arrive by bus, paying about 60 shekels/person. Hikers enter the park and leave it the path, paying nothing.
The only place where admission fees apply is Nahal Snir Reserve, right at the end point of the route, not far from Dan. However, a short section along the Hasbani/Snir River can be avoided. On the way to the north, this was even necessary as the southern entrance was closed and access was possible only from the other end. The solution is a short walk along the border of the reserve along a path.

A separate issue are…
Military zones
You will pass dozens of military installations on your way across Israel. From small check-posts on the border of training grounds, to the top secret nuclear center near the city of Dimona, military presence is common. However, it is not a restriction: the route has been marked outside any militarized zones and disputed areas (Palestinian Territories, Gaza Strip, Golan Hills, Jerusalem). The only section through the military area is 26 kmbetween the Neot Smadar kibbutz and the crossroads of Zihor Junction. Here INT follows asphalt road. The presence of the army also requires, that you have a passport with you at all times. Controls are not frequent, but might happen near borders or in large cities (e.g. in the center of Jerusalem).
Communication, emergency
Almost the entire length of the route is within the reach of the GSM network, with some exceptions of course. These are valleys, canyons and obscured by large peaks. Even in the middle of the desert, the distance to the nearest road is short enough for the phone to “see” the networks. The most common I caught, was Pelephone. When taking your European phone to Israel, remember about roaming costs – 2-3 EUR/min. In case of emergency, call the police (100), who will forward your location to the Search & Rescue teams. Israel has very good rescue units, so the chance of being rescued in the desert is relatively high. If, of course, you can call for help. If, unluckily, you find yourself in a place without reach, you shall wait patiently. You’ll meet people on the route EVERY DAY, so the potential help is never far away.

Navigation and marking
The trail is marked with signs, that consist of 3 strips: orange, white, blue. Those three colors symbolize: the Negev desert rocks, the Mediterranean coast and the snow of Mount Hermon. You will easily notice, that the straps are positioned vertically and that one of them is higher, like one the picture below. If the mark has a white stripe pointing upwards, you go north. If the highest is the orange bar, you go south.
Thanks to them I was able to thru-hike the whole Israel National Trail without detailed maps. However, trail marking is not perfect. In a desert, where the selection of paths is small, the system works well. North of Arad there was no day when I would not have lost the signs at least once (usually several times). Although sometimes this was due to lack of attention, many crucial points of the route (turns, road splits) are not clearly or not at all marked, forcing you to search. Worse still, these are most difficult and least visible turns, that are sometimes left without signs. The plateau north of Arad, the wild highway roadsides around Tel Aviv, the long loop around the quarry at Zichron Jaakov, which is completely unnecessary – to name just few. The trail marking teams have done a great job, but there is still some marking missing to make INT the really good trail.
Nevertheless, with the help of the guidebook and maps in it, you will go through the whole without great complications.
Israel National Trail: accommodation
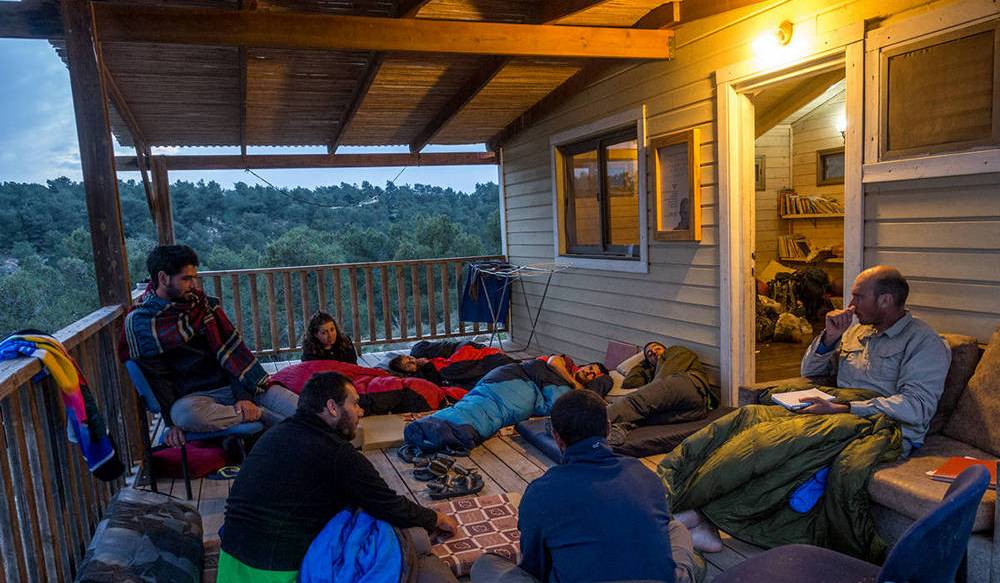
Much of Negev is a protected area, where camping is allowed only in designated areas. They are no different from the surrounding desert, except the information board. Usually it is just a piece of ground, similar to its surroundings. In theory, the desert landscape allows you for camping anywhere, but I advise against it – sometimes it is simply not allowed. And for many desert animals night is a period of activity and the presence of humans may disturb them. So it is worth to spend the night in designated places. It also has added value: meeting people on camping sites. As all folks hike across the desert at approximately the same pace, you have great chance to meet the same people regularly.

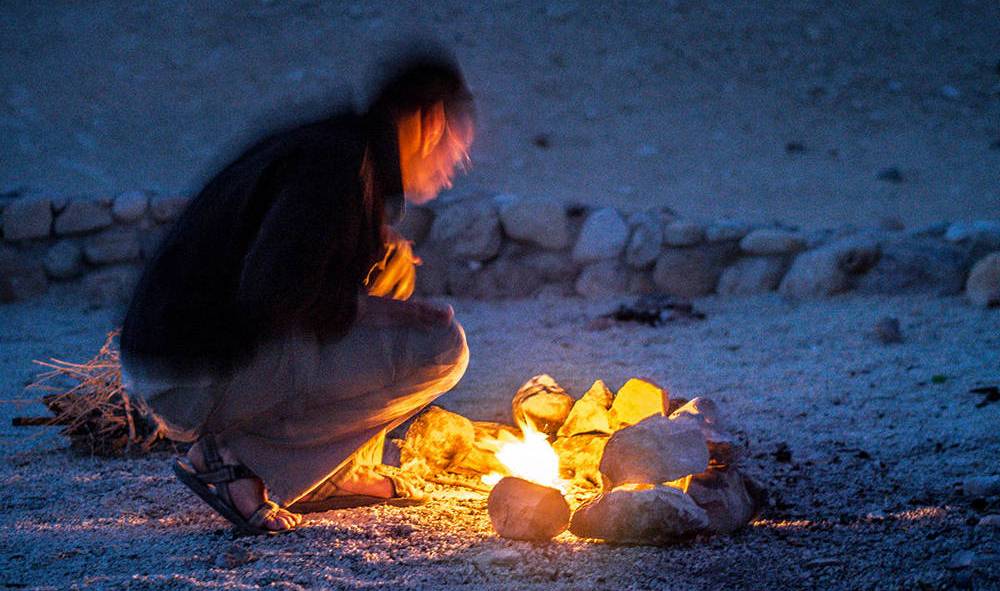
Many camping sites are located far from civilization. In the desert you have to be self-sufficient. Take a small pot and stove.
The tent is good option, but I found it to bulky and heavy. I was amazed to see a few wanderers carrying heavy tents. I was even more surprised that the majority of Israelis did not take ANY shelter on the trail! They slept in sleeping bags under the open sky. Given that a real torrential rain passed over Negev twice in February and March, during my hike, this is a risky approach.
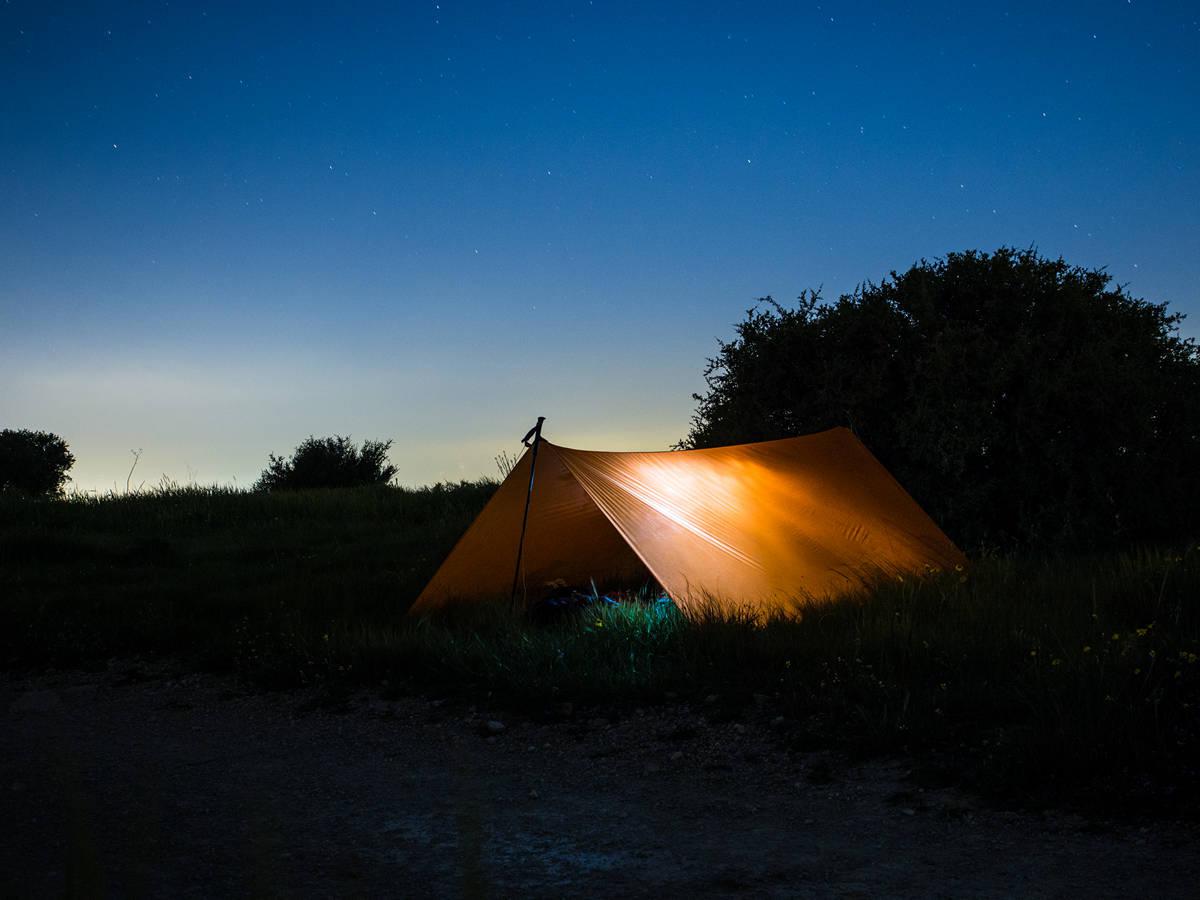
I found simple 10 x 10 ft. tarp to be the best shelter for the INT will be tarp. A lightweight piece of nylon weighs several hundred grams and provides excellent protection against dust, sun and rain. In the central and northern part of Israel you can choose the place for the night much more freely, but still the tarp will be great.
Overnight stays in cities
The trail passes by Jerusalem and the centre of Tel Aviv, but it would be a big loss not to stop there. As for me, I spent time at w Abraham Hostel Jerusalem oraz Abraham Hostel Tel Aviv. I highly recommend both of them. Affordable price, great atmosphere and plenty of space for guests. No tight basements imitating rooms and kitchens hidden in the cellar – 8 days spent in Jerusalem and 2 days in Tel Aviv were, thanks to them, a real pleasure.
Trail Angels
Like trail angels on popular long-distance trails in US, they are the true magic of this trail: people who’ve decided to host the “shvilistim” (those who follow the Shvil Israel). These are usually private people who live near by nad offer place to stay, sometimes also do laundry, use the Internet, eat dinner. Religious Israelis, observing holidays, spend their Sabbath with them. An up-to-date list can be found here: http://shvil.wikia.com/wiki/INT_Trail_Angels

Water and food supply
In the center and north of Israel, you’ll find water and food every day. After leaving Negev (means after passing the city of Arad) I found water even several times a day and never took it more than 1.5 l. Same with food.
In the desert, water and food are essential for survival, and the distances between settlements are 1.5-3 days. Surviving a day in the Negev requires min. 4 l of water, which means you’ll be carrying 6-12 l of water in your backpack. The topic of water and food requires careful planning and I’ve wrote seperate article about it.

Communcation
Most of the people you’ll encounter on the route will speak good English. There are, however, some exceptions. Unfortunately, they include the poorest, that is, the marginalised Bedouins of northern Negev and some Palestinian workers you will meet here and there. In many cities, where thousands of Jews from the collapsed USSR came after 1990, Russian is widely used. You can hear it everywhere in Mitzpe Ramon, Therada, Hadera, many districts of Tel Aviv, and in this places it’s much more popular than Hebrew. Knowing Russian helped me in such places.
Money
Food will be crucial during long hike. Prices in Israel are high, but in bigger markets you’ll find a lot of things typical for European cuisine, combined with local Middle-Eastern products. A bit of improvisation will allow you to put them together in a reasonable menu on the trail. If your finances are limited, remember: humus and tahina shall be your basis 🙂 .
How much did my Israeli National Trail cost?
The cost of plane Warsaw – Tel Aviv – Warsaw was 250 EUR. I’ve been spending about 50 EUR/per week on food. The rest were: bus travels inside the country and in cities, 6 nights of acomodation, additional memory card for the camera and several other items. I’ve been avoiding restaurants and hostels (exept Jerusalem and Tel Aviv) in favour of my own tarp and “trail angels” shelters. The total budget of the 65-day expedition in 2017 was 1200 EUR. Given that prices in Israel are sometimes the terror of visitors, this is a good result.
Israel Nationa Trail safety. Single or with someone?
Israel and security? Someone could laugh. Yet, the thru-hike of Israel Nationa Trail passage is completely safe, of course in terms of crime or military action. The trail bypasses all disputed territories and tourists are not targets of attacks. Recent years have seen reasonable peace in Israel and the Palestinian Territories. However, it is worthwhile to report your plan to the embassy before leaving and check the warnings for tourists.
On the trail I regularly met those, who wandered alone. There were also single women among them. So if you can predict the risks of deserts and long journeys, the external risks are minimal.
The Israeli National Trail was a great adventure. Although I thought that my previous trips had prepared me for hiking in the desert, Negev surprised me with it’s unbelivable beauty. This trail is also an opportunity to understand better this country, region and look at Israel through it’s citizens’ eyes. Landscapes, people, history and religion form an extraordinary mixture, which has made me to plan my next trip there.


One Response
I would like to do the trail, have the fitness but am not allowed to carry heavy loads. Are there luggage transport services I can contract, which transport my luggage from each daily destination to the next one?